Key Takeaways for Vibe Coding with Bubble
- Rapid Development: Vibe Coding, especially with Bubble, allows non-technical founders to build functional web applications and MVPs in days or weeks, significantly reducing time and cost.
- Visual Logic: Bubble uses a clear "Inputs > Actions > Outputs" workflow model, enabling complex application logic without traditional coding.
- Platform Power: The platform offers a visual UI builder, integrated database, extensive plugin ecosystem, and backend workflows for robust application development.
- Best Practices: Prioritize understanding privacy rules, using the debugger for troubleshooting, and structuring your application for scalability from the start.
- Security Awareness: Implement strong privacy rules, avoid storing sensitive data directly, and leverage secure third-party integrations for compliance and safety.

For founders without a technical background, building software can feel like a distant dream, often bottlenecked by development costs and lengthy timelines.
This is where Vibe Coding comes in—a modern approach focused on speed, intuition, and visual development.
It leverages powerful no-code and low-code platforms to bring your ideas to life quickly and efficiently.
This guide will walk you through the core principles of Vibe Coding using Bubble Engine 2026.1, helping you build production-ready applications without writing traditional code.
1. What is Vibe Coding & Why Founders Need It
Vibe Coding is a philosophy centered on visual feedback and intuitive development.
It's about applying no-code and low-code platforms to construct functional software without writing traditional programming languages like Python or JavaScript.
For non-technical founders, this approach offers significant advantages.
Imagine building a complex machine using advanced modular components instead of forging each part from raw materials.
Both methods can produce a working product, but one is far more accessible and faster for testing an idea.
Key Benefits for Founders:
- Rapid Prototyping & MVPs:
You can transition from an initial concept to a working Minimum Viable Product (MVP) in days or weeks, not months.
This allows you to test your core business idea with real users before committing heavy investment to a technical team. - Drastic Cost Efficiency:
Developer salaries are often the largest expense for early-stage tech startups.
Vibe coding allows the founder to build the initial product directly, saving substantial upfront capital. - Creative Autonomy:
You retain direct control over your product.
If you need to change button text, add a new form field, or tweak a workflow, you can do it instantly without waiting for a developer's sprint cycle. - Faster Iteration:
Market feedback becomes instant.
When a user suggests a feature, you can often build and deploy it the same day, creating a tight feedback loop that is critical for finding product-market fit.
2. Choosing Your Vibe Coding Platform & Initial Setup
While 'Vibe Coding' is a concept, you execute it on a platform.
The market offers several strong contenders across different categories.
- Web Applications:
Bubble is a leading choice for building complex, data-driven web apps such as marketplaces, social networks, and internal tools.
(This guide focuses on Bubble). - Websites & High-End Landing Pages:
Webflow provides extensive design control for visually stunning, content-rich websites. - Mobile Apps:
Adalo or FlutterFlow are strong options for creating native-like mobile applications for iOS and Android. - Automation & Integration:
Make (formerly Integromat) and Zapier excel at connecting different applications to automate workflows.
We'll use Bubble for this guide because it offers deep logic and database capabilities, making it ideal for the 'coding' aspect of Vibe Coding.
Initial Setup (Bubble)
UI Path:
- Navigate to bubble.io and click 'Sign up'.
- Create your account.
You can begin on the robust Free plan. - After onboarding, click 'Create a new app'.
- Name your app, for example, 'FounderVibeApp'.
You can choose to start from a template or a blank slate; we will start blank. - Essential First Settings:
- App Plan:
Navigate to Settings > App plan to review your current limits.
The free plan is powerful but has branding and capacity limits. - Responsive Engine:
Ensure you are using the modern Flexbox-based responsive engine.
Bubble will prompt you to upgrade older apps if needed.
This is crucial for building apps that work well on both desktop and mobile devices. - General Settings:
Review Settings > General to set your app's favicon, timezone, and other basic configurations.
- App Plan:
For more detailed information on Bubble, you can consult the Official Documentation, review Bubble Pricing, or explore Bubble on GitHub.
Key Features of Bubble (as of 2026.1)
- Visual Drag-and-Drop UI Builder:
Build your user interface by dragging elements like text, buttons, and images onto a canvas.
This allows you to design your app's look and feel without writing HTML/CSS. - Integrated Database:
Bubble includes a fully-featured, built-in database where you can define data types, fields, and relationships.
Use this for storing user data, product listings, or form submissions. - Visual Workflow Logic:
Define application behavior with 'When... Then...' logic blocks.
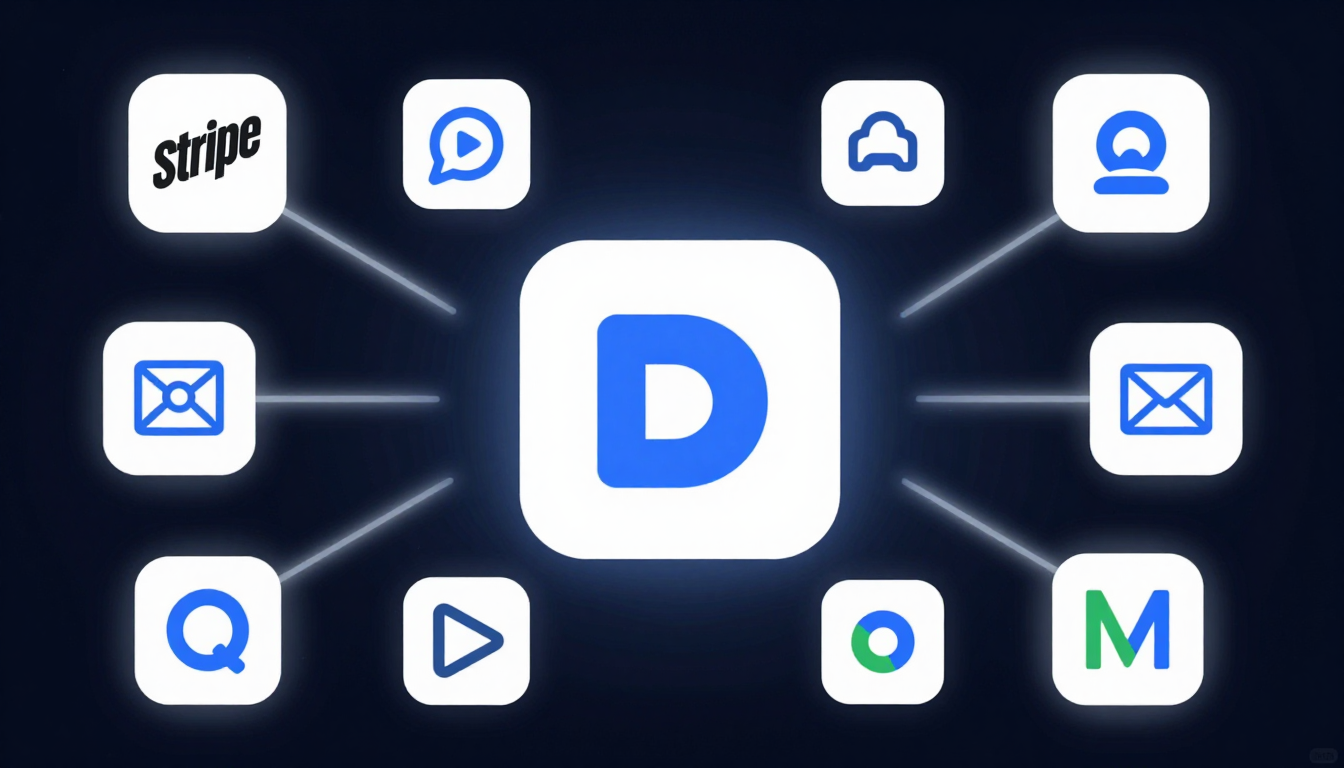
No code is required for creating user signups, processing payments, or saving data. - Full Plugin Ecosystem:
Extend functionality with hundreds of free and paid plugins for APIs, payments, charts, and more.
This makes integrating Stripe, Google Maps, or Mailchimp possible in minutes. - Backend Workflows:
Schedule and run logic on the server, independent of the user's browser.
This is useful for sending reminder emails or processing large datasets. - Built-in User Management:
Access pre-built functionality for user signup, login, password reset, and authentication.
You can build a membership site or SaaS product instantly. - API Connector:
Connect to any third-party service with a REST API to send or receive data.
Use this for pulling in data from a CRM, a weather app, or an AI service.
3. Your First Vibe Code Project: Building a Simple Contact Form
This project is the foundational 'Hello, World!' of Vibe Coding.
We will create a form that captures a name and email and saves this information to your database.

Step 1: Design the UI
UI Path: Design Tab
- From the 'Visual elements' panel on the left, drag an Input element onto the page.
- In the property editor that appears, change the 'Placeholder' to Enter your full name.
- Drag a second Input element below the first.
In its property editor, set the 'Placeholder' to Enter your email and change the 'Content format' to Email.
This setting adds automatic email validation. - Drag a Button element below the inputs.
Change the 'Button text' to Submit.
Step 2: Set up the Database
UI Path: Data Tab > Data types
- In the 'New type' field, type Contact Submission and click 'Create'.
- With Contact Submission selected, click 'Create a new field'.
- Name the field name and set the 'Field type' to text.
Click 'Create'. - Click 'Create a new field' again.
Name it email and set the 'Field type' to text.
Click 'Create'.
Step 3: Create the Workflow
UI Path: Select the 'Submit' button on the Design tab > Click 'Add workflow'
- This action takes you to the Workflow tab with the event When Button Submit is clicked already created.
- Click 'Add an action'.
- Choose Data (Things) > Create a new thing....
- In the 'Type' dropdown, select Contact Submission.
- Click '+ Set another field'.
Choose name = Input Enter your full name's value. - Click '+ Set another field'.
Choose email = Input Enter your email's value. - (Optional but good practice) Click 'Add an action' again.
Choose Element Actions > Reset relevant inputs to clear the form after submission.
Test it! Click 'Preview' in the top-right corner of your editor.
Fill out the form and click submit.
Then, go back to your editor, navigate to Data > App data > Contact Submissions to see your new entry.
4. Core Vibe Coding Logic: Inputs, Actions, & Outputs
Vibe Coding follows a straightforward yet powerful pattern: Inputs -> Actions -> Outputs.

- Inputs:
This refers to the data your app receives.
It can originate from a user typing into a form (like our contact form), a URL parameter, or a call to an external API.
- Example: The text "John Doe" typed into the Input Enter your full name element.
- Actions:
These are the "verbs" of your application—the logic that runs when an event is triggered, such as a button click or a page load.
Actions manipulate inputs to produce outputs.
- Example: The Create a new thing action in our workflow.
- Outputs:
This is the result generated by your actions.
It could be data saved to the database, an email being sent, a user being navigated to a new page, or an element changing color.
- Example: The new row created in the Contact Submission data type.
Adding Conditional Logic
What if you want a workflow to run only if a specific condition is met?
This is a fundamental aspect of building intelligent applications.
UI Path: Workflow Tab > Select the 'Create a new thing' action
- In the property editor for this action, you will see a section labeled Only when.
- In the Only when box, you can define a condition.
For example: Input Enter your email's value contains @. - Now, this specific action will execute only if the condition evaluates to true.
This capability allows you to build complex decision trees visually.
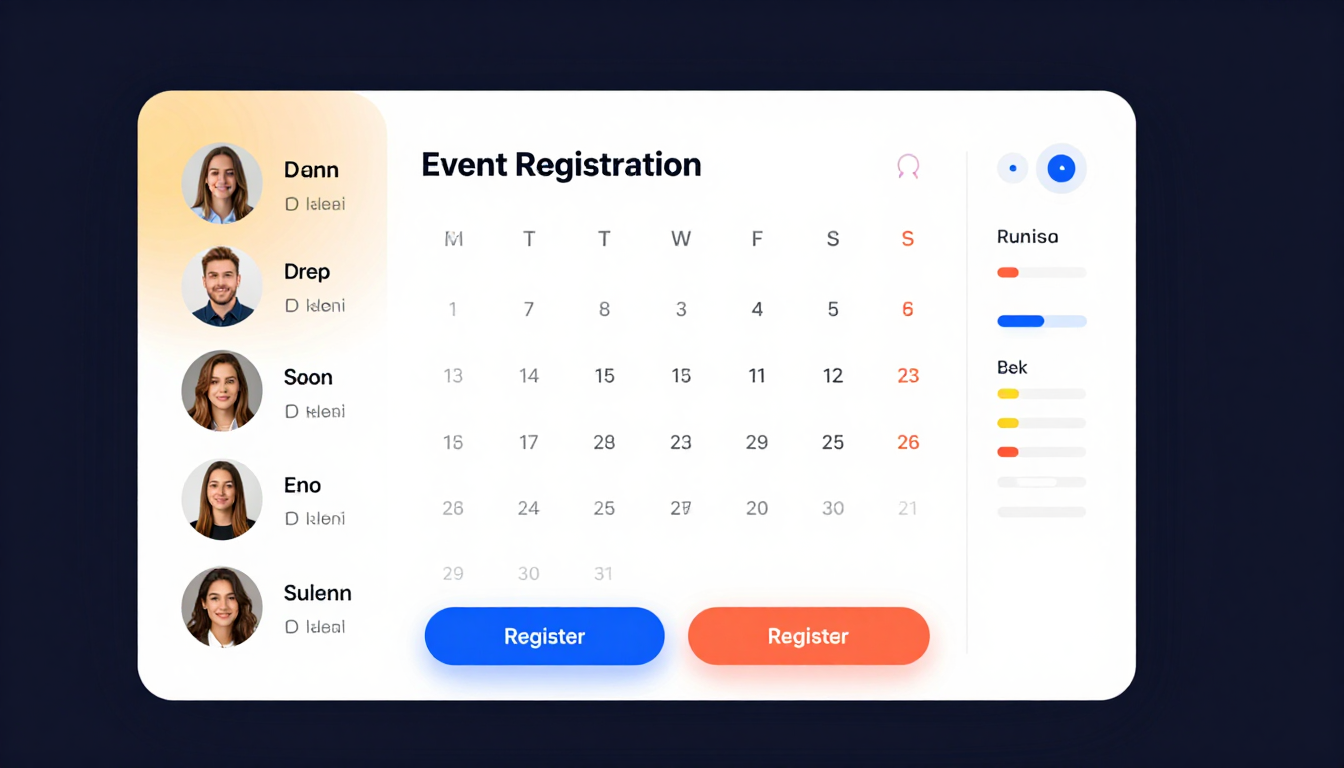
5. Real-World Use Case: Automating Event Registration & Follow-up
Let's build a practical, simple event registration system.
Step 1: Database Setup
UI Path: Data Tab
- Create a new data type: Event.
- Field: title (text)
- Field: date (date)
- Create a new data type: Registration.
- Field: attendee (type User - this links to Bubble's built-in user system)
- Field: event (type Event - this creates a relationship between the two data types)
Step 2: Build the UI
- Create a new page called events.
- Add a Repeating Group element.
This element is used to display a list of items from the database.
- Set its 'Type of content' to Event.
- Set its 'Data source' to Do a search for > Event.
- Inside the first cell of the Repeating Group, drag a Text element.
Click 'Insert dynamic data' and choose Current cell's Event's title.
Do the same for the date. - Drag a Button inside the cell and label it Register.
Step 3: Create the Registration Workflow
UI Path: Click the 'Register' button > Add workflow
- Action 1: Data (Things) > Create a new thing...
- Type: Registration
- Set field event = Current cell's Event.
- Set field attendee = Current User.
- Add a condition: Only when > Do a search for Registrations (with constraints: event = Current cell's Event, attendee = Current User) :count is 0.
This prevents duplicate registrations.
- Action 2: Email > Send email
- To: Current User's email
- Subject: Confirmation for [Insert dynamic data > Current cell's Event's title]
- Body: Hi [Current User's name], you are now registered for our event!
Step 4: Automate the Reminder Email (Backend Workflow)
- Go to Settings > API and check 'Enable Backend Workflows'.
- Navigate to the backend workflows page (from the page dropdown in the top-left of the editor).
- Create a new API workflow called send_reminder.
- Define a new parameter: registration of type Registration.
- Add an action: Email > Send email.
- To: registration's attendee's email.
- Subject: Reminder: [registration's event's title] is tomorrow!
- Go back to your 'Register' button workflow.
- Add a new action: Custom Events > Schedule API Workflow.
- API Workflow: send_reminder
- Scheduled date: Current cell's Event's date :minus > day(s): 1.
- registration: Result of step 1 (Create a new Registration).
Now, when a user registers, the system automatically schedules a reminder email to be sent 24 hours before the event.
6. Integrating Vibe Code with Third-Party Tools
Your application won't likely exist in isolation.
You will need to connect to other services like CRMs or email marketing tools.
Bubble simplifies this process with its API Connector plugin.
Example: Add a new contact to Mailchimp when they register.
UI Path:
- Plugins Tab > Add plugins > Search for 'Mailchimp' and install the official or a highly-rated community plugin.
- Follow the plugin instructions to add your API Key from your Mailchimp account into the plugin settings.
- Go to your Register button workflow.
- Add a new action.
Under the 'Plugins' section, you will see a new action such as Mailchimp - Add subscriber to list. - Configure the action:
- List ID: Select your desired Mailchimp audience.
- Email: Current User's email.
- Merge Fields: You can pass additional data like FNAME = Current User's name.
Your Bubble app is now communicating directly with Mailchimp's servers, adding a subscriber without any manual intervention.
7. Common Pitfalls & Troubleshooting Visual Logic Errors
As you build, you will inevitably encounter issues.
Here are some of the most common traps for beginners.

- Pitfall 1:
Privacy Rules. The primary reason data might appear 'missing' is often due to privacy rules.
By default, all data you create is private.
If a user cannot see a list of events, it is likely a privacy rule issue.
- Solution:
Go to Data > Privacy.
For the Event data type, define a rule.
A common starting rule is: Everyone else (default permissions) -> Allow find in searches, View all fields.
You must consciously define who can see what data.
- Solution:
- Pitfall 2:
Incorrect Data Source. A repeating group or text element might be empty because you have likely configured the 'Data source' incorrectly or the search constraints are returning no results.
- Solution:
Double-check the expression in the data source.
Use the debugger to inspect the search results.
- Solution:
- Pitfall 3:
Workflow Order. Workflows execute actions sequentially.
If you navigate a user to a new page in Step 1 and then try to save data in Step 2, Step 2 will never run.
- Solution:
Always perform data creation or modification actions before navigation actions.
- Solution:
The Debugger: Your Best Friend
Bubble features a powerful built-in debugger.
UI Path: Click Preview in your editor.
The page will load with ?debug_mode=true in the URL.
At the bottom of the screen, you will find the debugger toolbar.
Click 'Step-by-step' to execute workflows one action at a time, inspecting the data and logic at each stage.
Click 'Inspect' to click on any element and see its properties, data source, and any workflows associated with it.
8. Scaling Your Vibe Code Solutions & Performance Tips
An application that performs well for 10 users might slow down considerably with 10,000 users.
Here's how to build for growth from day one.

- Optimize Database Searches:
Avoid loading massive lists of data onto a page all at once.
Instead of Do a search for Users, use specific constraints: Do a search for Users where status = 'active'.
Lazy loading and pagination are important techniques to use. - Use Backend Workflows:
For any process that involves multiple steps, looping, or processing large amounts of data, move it to a backend workflow.
This transfers the work from the user's browser to Bubble's server, helping your app maintain speed. - Minimize Data Loaded:
On your pages, only load the data you absolutely need to display.
Avoid loading an entire User object with 50 fields if you only need to show their name. - Structure for Clarity:
- Reusable Elements:
If you have a header, footer, or popup that appears on multiple pages, build it once as a 'Reusable Element' and place it where necessary. - Label Everything:
Add notes to complex workflows and give your elements clear, descriptive names (e.g., Button_SubmitContact instead of Button A).
- Reusable Elements:
- Upgrade Your Plan:
Bubble's performance is linked to 'server capacity'.
As your user base expands, you will need to upgrade your plan to purchase more capacity units to handle the increased load.
9. Security & Data Privacy Considerations for Non-Developers
Even without traditional code, you are responsible for securing your application and user data.

- Master Privacy Rules:
This is your primary security tool.
Never leave default permissions open on sensitive user data.
A properly configured rule, such as When Current User is this Thing's creator, ensures users can only see their own data. - Handling Sensitive Information:
NEVER store sensitive data like credit card numbers or government IDs directly in the Bubble database.
Instead, use trusted plugin integrations like Stripe, which are designed to handle this data securely and remain PCI compliant. - GDPR/CCPA Compliance:
- Consent:
Add a checkbox to forms ([x] I agree to the terms and privacy policy) and make it a required field. - Data Access:
Build a user dashboard where they can view and edit their own data. - Data Deletion:
Create a workflow that allows a user to delete their account and all associated data.
- Consent:
- Secure API Keys:
When connecting to third-party services, your API keys are secrets.
Store them correctly:
- In the API Connector, ensure the 'Private' checkbox is ticked.
This makes the key available on the server but not visible in the user's browser. - For plugin keys, enter them in the Plugins tab, not directly in a workflow action.
- In the API Connector, ensure the 'Private' checkbox is ticked.
By following these principles, you can build powerful, scalable, and secure applications, turning your vision into a reality without writing a single line of code.


