Key Takeaways for Your AI Employee Journey
- AI employees are autonomous agents designed for complex, multi-step tasks, evolving beyond simple automation.
- Define clear job descriptions and measurable KPIs for your AI before building anything to ensure its effectiveness.
- n8n offers visual workflow building and self-hosting for granular control and data privacy, while Zapier Central provides conversational, agent-based creation for ease of use.
- Advanced configuration includes prompt engineering (like Chain-of-Thought) and robust conditional logic to guide AI decisions and actions.
- Monitoring and human oversight are crucial, incorporating logging, error detection, and human-in-the-loop approvals for critical tasks.

Welcome to the era where your most efficient, tireless, and data-driven team member isn't a person, it's an AI.
By 2026, automation platforms have advanced, transforming into powerful operating systems for creating 'AI Employees' or autonomous agents capable of handling complex, multi-step tasks.
This guide will walk you through the entire process, from conception to deployment and maintenance, using two leading platforms: n8n (version v2.48.1) and Zapier Central (projected v2.2).
n8n.io - AI workflow automation tool
n8n is a free and source-available workflow automation tool
n8n.io
Build AI teammates with Zapier Agents
Create your custom AI agent in minutes. Equip your agents with live business data and have them do work across 8,000+ apps — on command and while you sleep.
zapier.com
1. Defining Your AI Employee's Job Description
Before you build any logic, you must first define your AI's role.
A poorly defined role almost always leads to an ineffective AI.
Treat this as a strategic hiring process, just as you would for a human team member.
Step 1: Identify High-Friction, Low-Creativity Tasks
Look for bottlenecks in your business that are repetitive, rule-based, and consume valuable human time.
- Good Candidates:
Sorting and summarizing inbound emails, qualifying new leads from a form, transcribing meeting notes and creating action items, enriching contact data, or monitoring brand mentions online. - Poor Candidates:
Closing a high-value sales deal, designing a new brand logo, or writing a heartfelt apology to a client.
Step 2: Set Clear, Measurable Objectives (KPIs)
How will you know if your AI employee is successful?
- Example for a Lead Qualification AI:
- Objective: Qualify all inbound web leads within 2 minutes of submission.
- KPI 1: Reduce lead response time from 4 hours to less than 2 minutes.
- KPI 2: Increase the percentage of MQLs (Marketing Qualified Leads) passed to sales by 15% by filtering out junk.
- KPI 3: Maintain a qualification accuracy of greater than 95% (as verified by human spot-checks).
Step 3: Draft the Job Description Template
AI Employee Job Title: Lead Qualification & Enrichment Specialist

Primary Objective: To autonomously process, enrich, and qualify all inbound leads from the company website, ensuring the sales team receives only high-potential, actionable contacts.

Core Responsibilities:
1.  Monitor: Instantly trigger upon a new submission from our HubSpot/Webflow form.
2.  Enrich: Use services like Clearbit or Hunter to find the lead's company size, role, and location.
3.  Analyze & Qualify: Using a custom GPT-4 model, analyze the enriched data and the lead's message against our Ideal Customer Profile (ICP).
4.  Route:
    - If qualified as 'Enterprise', create a deal in Salesforce and notify the #sales-enterprise Slack channel.
    - If qualified as 'SMB', add to a Mailchimp sequence and notify the #sales-smb channel.
    - If 'Unqualified/Spam', archive the contact in the CRM.
5.  Log: Record every action and decision in an Airtable log for review.

Required Skills & Access:
- API Access: HubSpot, Salesforce, Slack, OpenAI, Clearbit, Airtable.
- Logic: Conditional routing, data formatting, error handling.
2. N8n & Zapier Central: Account Setup & Initial Configuration

Zapier Central (The Conversational Agent Approach)
Zapier Central excels at building AI agents you instruct with natural language.
- UI Path for Setup:
- Navigate to central.zapier.com and sign in with your Zapier account.
- Click "Create Bot" in the main dashboard.
- Give your bot a name, such as "Sales Development Bot."
- Go to the "Data Sources" tab on the left.
Click "Add Data Source" to connect your tools like Google Drive, Notion, or a database.
This gives your bot knowledge. - Go to the "Tools" tab.
Click "Add Tool" and connect actions your bot can take, for example, Gmail, Slack, or Salesforce.
This is equivalent to connecting apps in a classic Zap. - Securely manage credentials under your main Zapier account settings at zapier.com/app/connections.
n8n (The Visual Workflow Approach)
n8n provides more granular control with its node-based, visual canvas.
You can self-host for full data privacy or use n8n Cloud.
- UI Path for Setup:
- Sign up at n8n.io or deploy your own instance.
- You'll land on the Workflows canvas.
Workflows are your AI employees. - Click on "Credentials" from the left-hand menu.
- Click "Add credential."
Search for the app you want to connect, such as "Google Sheets" or "OpenAI." - Follow the OAuth or API key instructions.
For API keys, n8n provides a secure vault.
Enter your key and save. - Your credentials are now available to use in any node within your workflows.
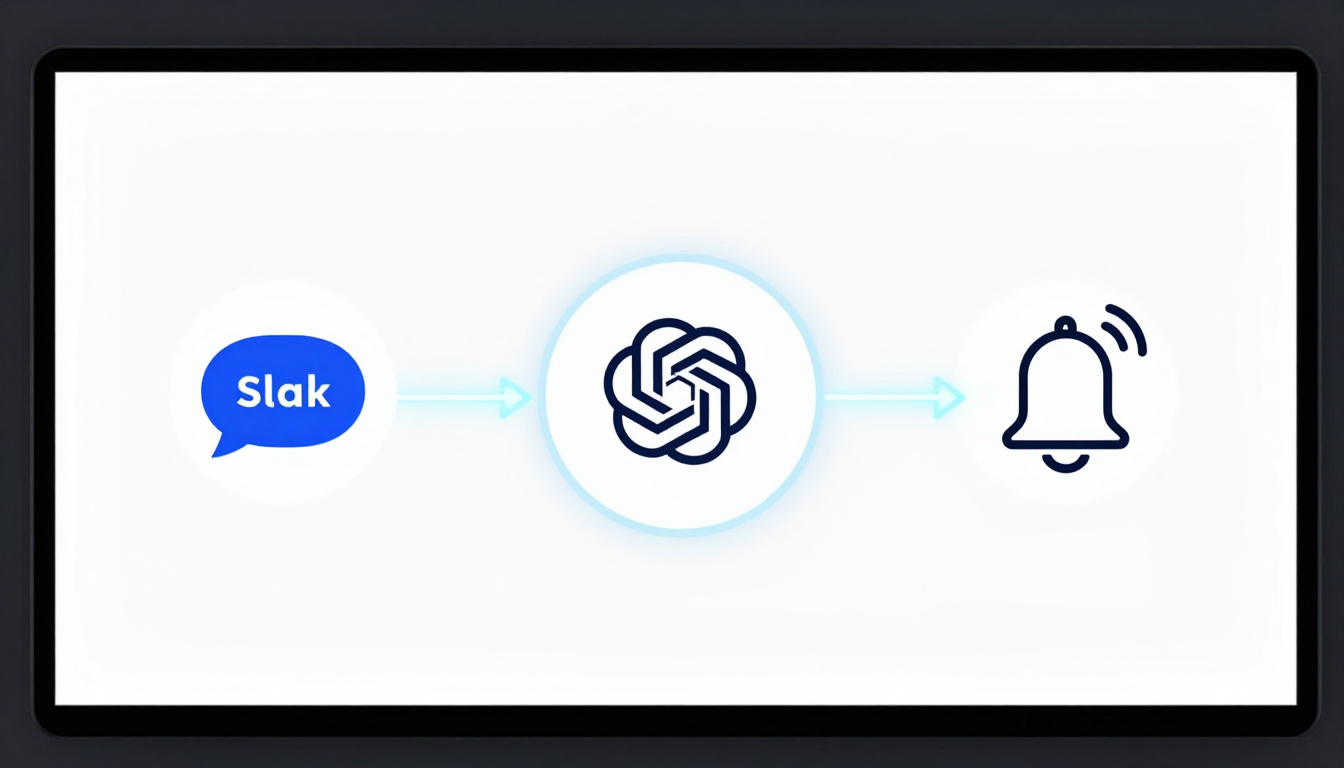
3. Your AI's First Task: Building a 'Hello World' Workflow

Let's build an AI that summarizes new Slack messages in a specific channel and DMs you the summary.
We'll use n8n for this example due to its visual clarity.
Objective: When a message is posted in #customer-feedback, an AI summarizes it and sends the summary to me via a Slack DM.
- Step-by-step UI Path (n8n):
- Create New Workflow: On your n8n canvas, click the `+` to add the first node.
- Add Trigger Node: Search for and select "Slack Trigger."
- Authentication: Select your Slack credential.
- Event: Choose "Message Posted."
- Channel: Select `#customer-feedback` from the list.
- Activate the trigger.
- Add AI Node: Click the `+` on the Slack node, search for and select "OpenAI Chat Model."
- Authentication: Select your OpenAI credential.
- Model: Choose `gpt-4o`.
- Text: In the prompt box, write:
You are an expert business analyst. Please provide a one-sentence summary of the following customer feedback. Focus on the core problem or praise. Ignore conversational filler.

Feedback: "{{ $json.text }}"
{{ $json.text }}is an n8n expression that dynamically inserts the message text from the trigger node.
- Add Action Node: Click the `+` on the OpenAI node, search for and select "Slack."
- Resource: Choose "Message."
- Operation: Choose "Send Direct Message."
- User: Select your own Slack username.
- Text: Drag the output from the OpenAI node.
The expression will look something like{{ $('OpenAI Chat Model').json.choices[0].message.content }}.
- Activate & Test: Save and activate the workflow.
Post a message in the `#customer-feedback` channel to test it.
- Create New Workflow: On your n8n canvas, click the `+` to add the first node.
4. Real-World Use Case: AI for Lead Qualification & Enrichment
This workflow automates the 'Job Description' we drafted in section 1.

Platform: Zapier Central
- Step-by-step Logic:
- Define the Trigger: In Zapier Central, your trigger is an instruction.
You'd tell the bot:"When a new form is submitted in HubSpot, execute the 'Lead Qualification' behavior." - Create a New Behavior: Inside your bot's configuration, click "Add Behavior."
- Step 1: Get Form Data (Trigger). Configure the HubSpot trigger for "New Form Submission."
- Step 2: Enrich Data (Tool). Add a tool step using Clearbit.
- Action: "Find Person & Company."
- Input: Map the email address from the HubSpot trigger:
{{ step1.email }}.
- Step 3: Qualify with AI (Built-in AI). Zapier Central's core is its AI instruction step.
- Instruction Prompt:
You are a B2B sales development expert. Your company's Ideal Customer Profile (ICP) is: companies in the tech or finance industry, with over 200 employees, located in North America.

Analyze the following lead data:
- Form Message: {{ step1.message }}
- Company Name: {{ step2.company.name }}
- Company Size: {{ step2.company.employees }}
- Company Industry: {{ step2.company.category.industry }}
- Location: {{ step2.company.geo.country }}

Based *only* on the data provided, classify this lead into one of three categories: 'Enterprise', 'SMB', or 'Unqualified'. Provide ONLY the category name as your output.
- Instruction Prompt:
- Step 4: Conditional Paths (Built-in Logic). Zapier Central uses AI-driven logic.
- Add a logic step:
"If the output of Step 3 is 'Enterprise'..."
- Action: Use the Salesforce tool to "Create Deal."
- Action: Use the Slack tool to "Send Channel Message" to `#sales-enterprise`.
- Add another logic step:
"If the output of Step 3 is 'SMB'..."
- Action: Use the Mailchimp tool to "Add Subscriber to Audience."
- Action: Use the Slack tool to "Send Channel Message" to `#sales-smb`.
- Add a logic step:
- Activate Behavior. Your AI employee is now on duty.
- Define the Trigger: In Zapier Central, your trigger is an instruction.
5. Advanced AI Employee Configuration: Custom Prompts & Logic
To elevate your AI from a simple tool to a sophisticated agent, you need advanced techniques.

Advanced Prompt Engineering (Chain-of-Thought & XML Tags)
Instead of simple instructions, guide the AI's thinking process.
This improves accuracy for complex tasks.
- Example: Sentiment Analysis & Categorization
You are a customer support ticket analyzer. Your task is to process an incoming support ticket, determine its sentiment, categorize it, and extract key entities. Follow these steps precisely.

<thinking_steps>
1.  Read the user's message inside the <ticket_text> tags.
2.  First, determine the sentiment. Is it Positive, Neutral, or Negative?
3.  Second, categorize the ticket into one of the following: 'Billing Issue', 'Technical Glitch', 'Feature Request', or 'General Inquiry'.
4.  Third, extract the user's name and any mentioned product names or invoice numbers.
5.  Finally, format your entire output as a JSON object with the keys "sentiment", "category", "userName", and "entities".
</thinking_steps>

<ticket_text>
{{ $json.body.ticket_message }}
</ticket_text>
Conditional Logic (n8n's IF & Switch Nodes)
n8n's logic nodes allow for powerful, deterministic routing that AI can't always guarantee.
- IF Node: A simple true/false branch.
Example:IF {{ $('OpenAI Chat Model').json.choices[0].message.content }}contains the word "Urgent", then send a PagerDuty alert. - Switch Node: Routes data down different paths based on the value of a single input.
This is perfect for handling the output of our AI classification model.
- UI Path (n8n):
- Add a Switch node after your AI node.
- Mode: Set to
String. - Property: Set the value to the AI's output, e.g.,
{{ $('OpenAI Chat Model').json.output.category }}. - Routing Rules:
- Rule 1: Value Equals
Enterprise-> Output 0 - Rule 2: Value Equals
SMB-> Output 1 - Rule 3: Value Equals
Unqualified-> Output 2
- Rule 1: Value Equals
- Connect different action nodes (Salesforce, Mailchimp, etc.) to each of the Switch node's output anchors (0, 1, 2).
- UI Path (n8n):
6. Monitoring Your AI Employee: Performance & Oversight
An autonomous agent requires trust, but also verification.

- Logging & Auditing:
- Strategy:
Create a dedicated logging destination like an Airtable base, Google Sheet, or a database, such as Postgres. - Implementation:
As the final step in every workflow, add a node that logs the trigger data, the AI's decision, and the final action taken.
Include a timestamp and a link to the workflow execution log.
- Strategy:
- Error & Anomaly Detection:
- Strategy:
Your workflow should know how to fail gracefully. - Implementation (n8n):
Use the "Error Trigger" node.
This is a special workflow that runs only when another workflow fails.
It can capture the error details and send a notification to `#ops-alerts` in Slack with the error message and a link to the failed execution.
- Strategy:
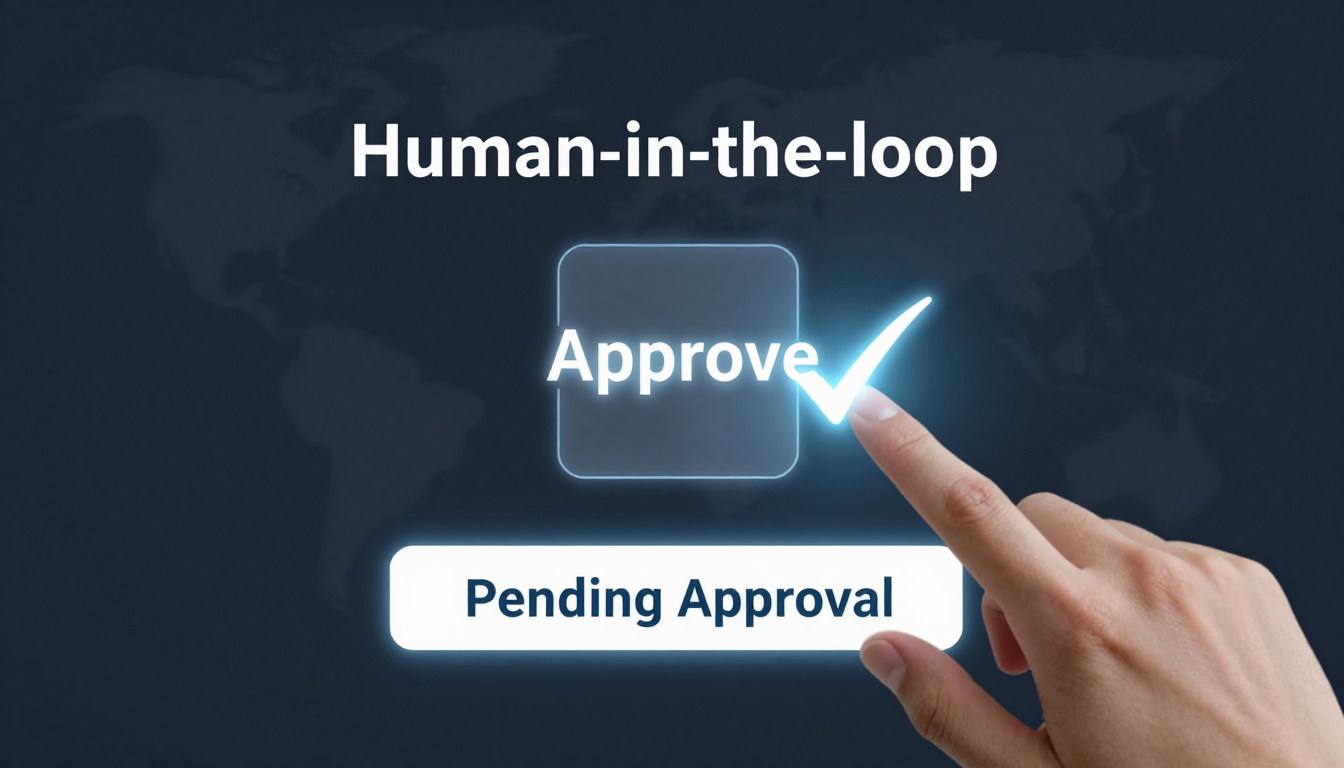
- Human-in-the-Loop (HITL):
- Strategy:
For critical or ambiguous decisions, pause the automation and ask for human approval. - Implementation (Zapier):
Use the "Approval" step.
The workflow halts until a user clicks "Approve" or "Deny" in an email or Slack message. - Implementation (n8n):
Use a "Wait" node and a webhook.
The workflow can send a message with two links (approve/deny).
When a link is clicked, it calls a webhook that resumes the main workflow with the human's decision.
- Strategy:
7. Troubleshooting Common AI Workflow Errors
Error: API 429 - Too Many Requests
- Symptom:
Your workflow fails intermittently, especially during high volume, with a429orRate Limit Exceedederror. - Cause:
You are calling an API (like OpenAI or a CRM) more times per minute than your plan allows. - Solution (n8n):
Use the Split in Batches node before the API call.
Set it to process, for example, 50 items, then use a Wait node for 60 seconds before processing the next batch.
This smooths out your API calls.
Error: Data Mismatch / Unexpected AI Output
- Symptom:
The AI's output isn't in the format you need (e.g., it gives a full sentence instead of"Enterprise"), causing downstream nodes to fail. - Cause:
The prompt is not constrained enough.
Large Language Models can be unpredictable. - Solution:
- Strengthen the Prompt: Add explicit formatting instructions like
"Provide ONLY the category name as your output. Do not add any other text or punctuation." - Add a Parsing Step: Add a "Code" node (n8n) or "Formatter" step (Zapier) after the AI call to clean the data.
You can use regex or simple string manipulation to extract the exact word you need. - Use Function Calling/Tools: In newer AI models, define a function or 'tool' the model can call with structured data (e.g.,
classify_lead(category)).
This forces the output into a reliable, machine-readable format.
- Strengthen the Prompt: Add explicit formatting instructions like
Error: Authentication Failure
- Symptom:
A node fails immediately with a401 Unauthorizedor403 Forbiddenerror. - Cause:
The API key or OAuth token has expired, been revoked, or is incorrect. - Solution:
- Go to the "Credentials" section in n8n or the "Connections" page in Zapier.
- Find the relevant connection and choose to "Reconnect" or "Edit."
- Re-authenticate via the service's login flow or paste in a new, valid API key.
8. n8n vs. Zapier Central: Choosing Your AI's Home Base
Deciding between n8n and Zapier Central depends on your specific needs, technical comfort, and data requirements.
Here's a breakdown to help you choose:
|
Feature |
Zapier Central |
n8n (Node-Based Automation) |
Best For... |
|---|---|---|---|
| Core Philosophy | Conversational, agent-based. Instruct with language. |
Visual, node-based. Connect blocks to build logic. |
Zapier: Teams wanting to build agents quickly via prompts. n8n: Developers needing granular control and complex logic. |
| Hosting & Data | Cloud-only. Data processed on Zapier's servers. |
Cloud and Self-Host (Docker, Kubernetes). Full data sovereignty. |
n8n for industries with strict data privacy (healthcare, finance). |
| Logic & Branching | Handled by AI instructions and simple pathing. | Advanced deterministic logic: IF, Switch, Merge, Loops. | n8n for complex, multi-path business processes. |
| Custom Code | Limited to built-in AI and tool configurations. | Code Node: Run custom JavaScript/Python. Build own nodes. |
n8n for extensibility and custom data transformation. |
| Pricing Model | Per-run/task-based, with tiers for features. See Zapier Pricing. |
Tiered by workflow executions. Self-hosting can be cheaper. See n8n Pricing. |
Zapier for predictable, low-volume tasks. n8n for high-volume or self-hosted cost savings. |
| Ease of Use | Extremely high for non-technical users. | Moderate learning curve, but highly powerful. | Zapier for rapid prototyping and business users. |
| Error Handling | Basic retry logic, email notifications. | Advanced error workflows, custom retry logic, dead-letter queues. | n8n for building resilient, mission-critical systems. |
Final Verdict:
- Choose Zapier Central if your team wants to leverage AI conversationally, build agents quickly without deep technical knowledge, and operate in a fully-managed cloud environment.
You can learn more at Zapier Central and through their documentation. - Choose n8n if you need full control, complex conditional logic, the ability to run custom code, and the option to self-host for data privacy and cost management.
It's often the preference for power users and developers, with extensive documentation and a GitHub repository for self-hosting.


